There are lots of controls in the Toolbox under Common Controls, we're not going to implement all of them here because most of them are easy to use. But some of them are interesting.
The WebBrowser control makes it easy to add a document viewer to our application that can view HTML documents online, just like IE.
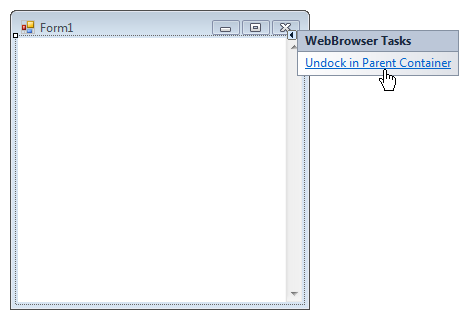
- Add a WebBrowser control to a Form. It will automatically take up the entire Form. Then, click on the Smart Tag arrow button and select the "Undock in parent container".
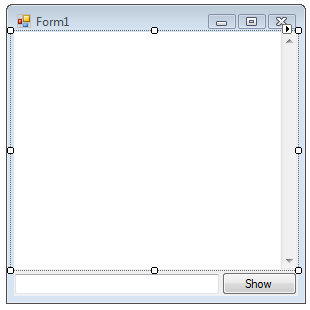
- Add a TextBox and Button control then arrange the Form controls to look like this:
- Add the following line after opening the Code Editor for the Button:
WebBrowser1.Navigate(TextBox1.Text)
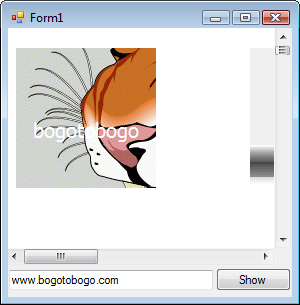
- Run it and type a URL into the TextBox field. Click the Show button to view the web page.
Let's look at the code for event handler for the Show button of the previous example.
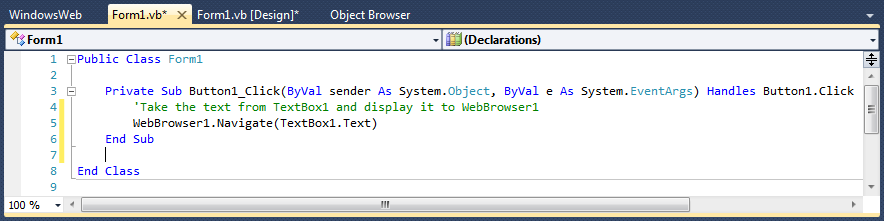
- Line 1 and 8 - start and end of the entire Form code
- Line 3 and 6 - start and end of the Button event handler
- Line 4 - comment, staring with an apostrophe ' character
Syntax highlighting:
- Keywords - blue
- Strings - text values in red
- Comments - green
- Code - black
Visual Basic objects have methods that are called to make the object perform an action. This works almost the same way that we can write code to assign property values to dynamically change an object's characteristics.
We've done similar things but let's take a fresh look and see how we use methods.
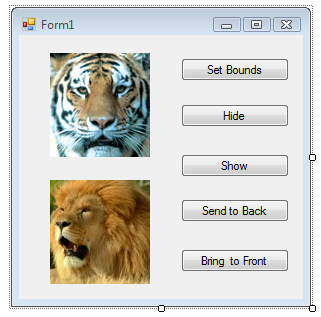
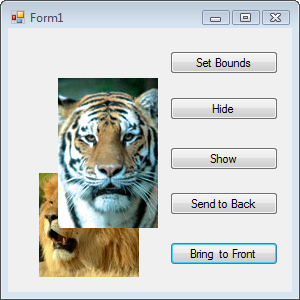
- Add two Label controls and five Buttons to a Form.
- Set each Label's AutoSize to False, and deletes their default Text value in the Properties window.
- Import any image for the labels. In the example, we change the names to TigerLabel and LionLabel, respectively.
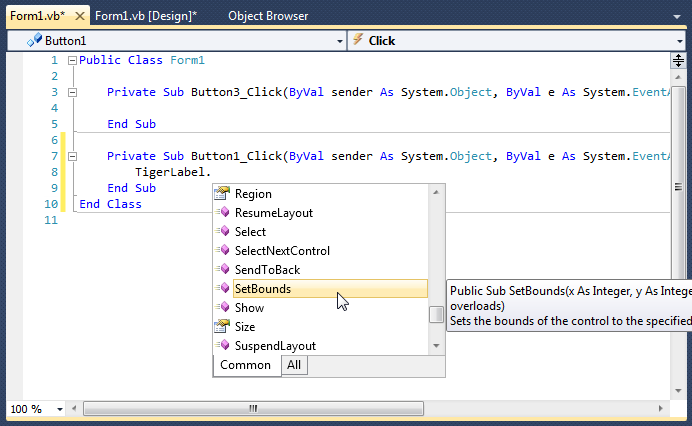
- Double-click on the Set Bounds Button to open the Code Editor in its event-handler the type TigerLabel.
- The SetBounds method sets the size and position of the control using X, Y, Width, and Height:
TigerLabel.SetBounds(50, 50, 100, 150)
- Do the same thing to the other Buttons adding calls to the Hide(), Show(), BringToFront(), and SendToBack() methods:
Public Class Form1 Private Sub Button3_Click(ByVal sender As System.Object, ByVal e As System.EventArgs) Handles Button3.Click TigerLabel.Show() End Sub Private Sub Button1_Click(ByVal sender As System.Object, ByVal e As System.EventArgs) Handles Button1.Click TigerLabel.SetBounds(50, 50, 100, 150) End Sub Private Sub Button2_Click(ByVal sender As System.Object, ByVal e As System.EventArgs) Handles Button2.Click TigerLabel.Hide() End Sub Private Sub Button4_Click(ByVal sender As System.Object, ByVal e As System.EventArgs) Handles Button4.Click TigerLabel.SendToBack() End Sub Private Sub Button5_Click(ByVal sender As System.Object, ByVal e As System.EventArgs) Handles Button5.Click TigerLabel.BringToFront() End Sub End Class - Run and play with it.
- Make the form looks like this.
- We need to add the following into the Declarations section.
Public Class Form1 Private Sub ClearForm() TextBox1.Text = "" TextBox2.Text = "" End Sub ... End ClassAnd we also need to the event-handling call when we click the Clear button.
Private Sub Button2_Click(ByVal sender As System.Object, ByVal e As System.EventArgs) Handles Button2.Click Me.ClearForm() End Sub
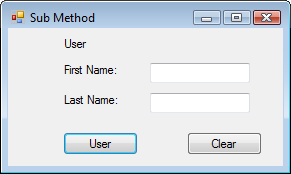
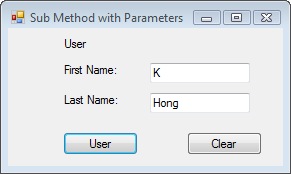
ParametersLet's use the example Form of the previous section. We need to type in the following line of code to the Declarations sections.
Private Sub User(ByVal fname As String, ByVal lname As String) TextBox1.Text = fname TextBox2.Text = lname End SubAlso, we need to call this subroutine when the User button is clicked:
Private Sub Button1_Click(ByVal sender As System.Object, ByVal e As System.EventArgs) Handles Button1.Click Me.User("K","Hong"); End SubThen, run it and click the User button:
When creating code for several properties or methods of an object it can be tedious to type the object name repeatedly. So, With block can specify all the values and even calls to methods.
Let's see what can be done with the label WithBlock in the picture below.
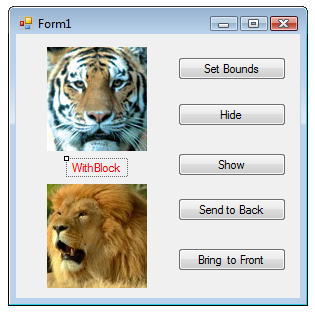
We type in properties and methods in the Form's Load event using a With block.
Private Sub Form1_Load(ByVal sender As System.Object,
ByVal e As System.EventArgs) Handles MyBase.Load
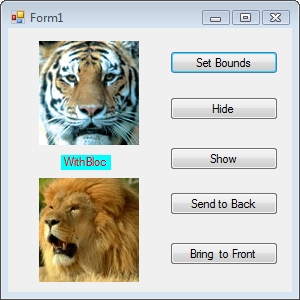
With TestingWithBlock
.AutoSize = False
.BackColor = Color.Cyan
.Width = 50
.Height = 15
.SendToBack()
End With
End Sub
If we run it, we see the changes we made with With block.
When we double-click on a Form or Button to open the Code Editor, we see that each event-handler begins and ends like this:
Private Sub Button1_Click(..)
...
End Sub
The Sub is short for subroutine and each event-handler subroutine is a Private method of that Form's class. We can create our own subroutine method from scratch so that we can call from other code.