
In the previous chapter, we created the CarsDatabase database. We can begin to add the Cars, Models, and Versions tables by creating the tables and setting the Primary Key column for each table.
To open Table Designer window and tool bar, in Database Explorer, right-click on the Tables icon and choose Add New Table from the context menu.

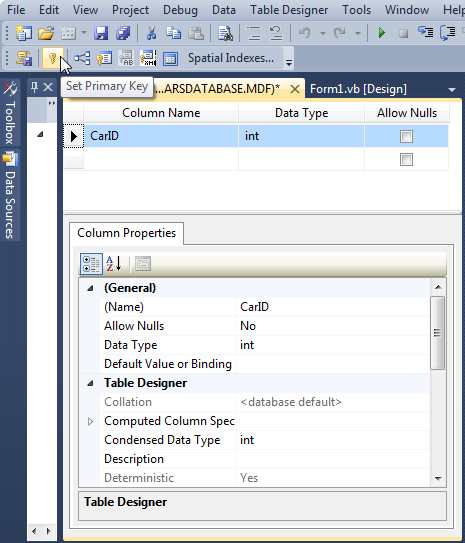
In Table Designer, type CarID and choose the int item from the dropdown options to allow only integer data in this column. Also, ensure that the Allow Nulls checkbox is not checked so empty cells will not be allowed in this column.

Click the Set Primary Key button on the Table Designer toolbar.
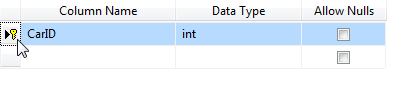
Then, we see the key appear.
Expand Identity Specification under the Table Designer menu which is in the Column Properties window. Then, set the Is Identity property to Yes to have the column automatically number its rows.

Click File and Save Table. Type Cars for the name in Name dialog and hit OK.
Do the same process to create additional tables for Models, Versions.
Now that we've created the Cars, Models, and Versions tables, we can begin to define other columns for each table by setting their Column Name, Data Type and Allow Nulls.
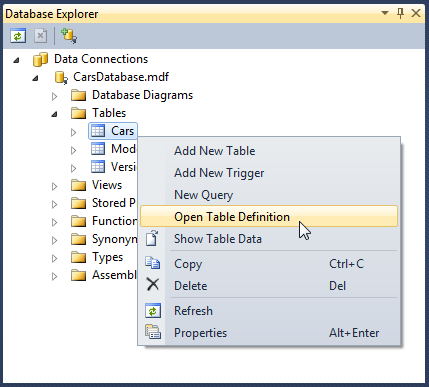
Right-click on the Cars icon in Database Explorer. Then, select Open Table Definition from the context menu to open it in Table Designer.
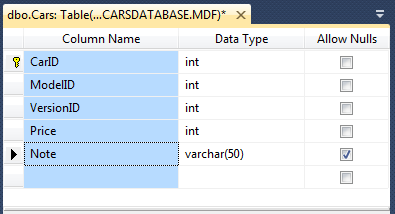
Click the next line under the Column Name heading, below the box containing the CarId name. Then, type ModelID to name that column, set the data type to int and uncheck the Allow Nulls checkbox. Repeat the same for VersionID and Price. For a column named Note, set the data type to varchar(50) and do check the Allow Nulls checkbox so the completed table definition looks like this.
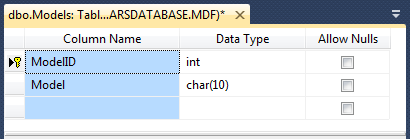
Double-click on the Models table in Database Explorer to open it in Table Designer. Then, click the next line under the Column Name heading, below the box containing the ModelID name, then type Model to name that column, set the data type to char(10) and uncheck the Allow Nulls checkbox.
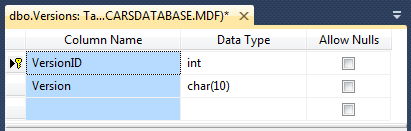
In Database Explorer, double-click on the Versions table icon to open it in Table Designer. Do the similar thing.
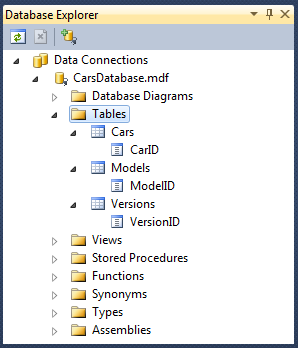
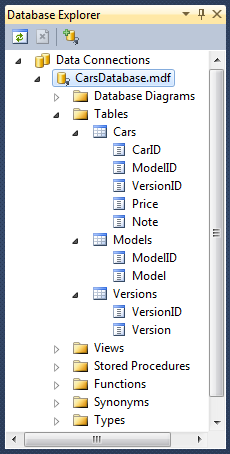
It's time to save all we've done. Click File, Save ALL. Then, right-click on CarsDatabase.mdf to reopen the database. Expand the tables in Database Explorer to see all the defined columns we've created.
Since we've defined all the table columns, we can now establish the relationships between the tables to recognize the links for the Cars table's ModelID column to the
Right-click on the Database Diagrams icon in Database Explorer and then choose Add New Diagram from the context menu.
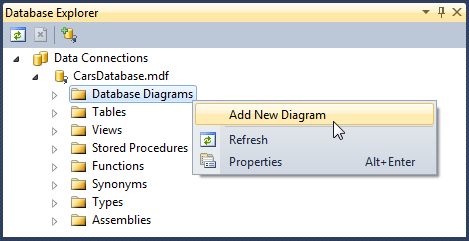
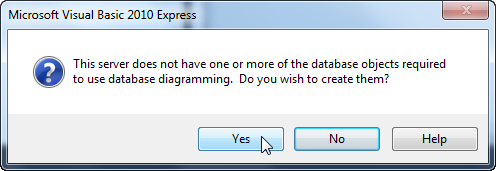
When a dialog box appears asking if we want to create required objects, click Yes.
Then after a short delay, the Add Table dialog will appear.
Select all three tables (Cars, Models, and Versions) in the Add Tables list. Then, click the Add button to create a diagram.
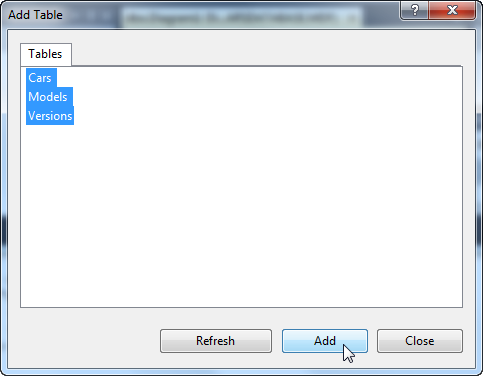
Then, click Close to close the Add Tables dialog.
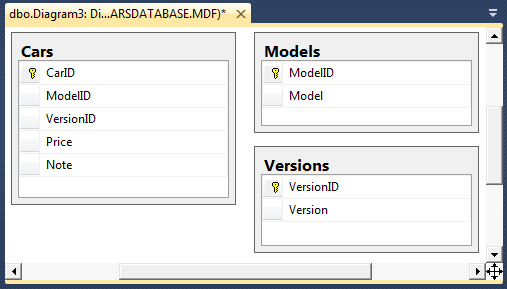
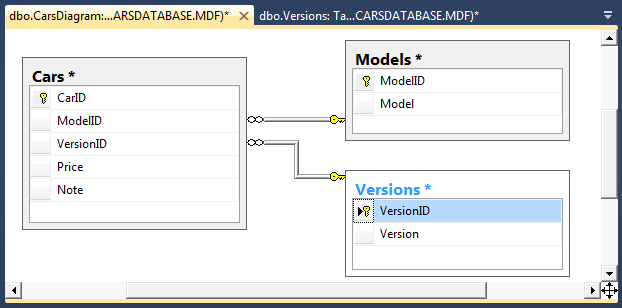
Save All and to save the diagram and name it CarsDiagram. The relationship to be established in this case is to create Foreign Key for the ModelID and VersionID columns in the Cars table by linking them to their respective tables.
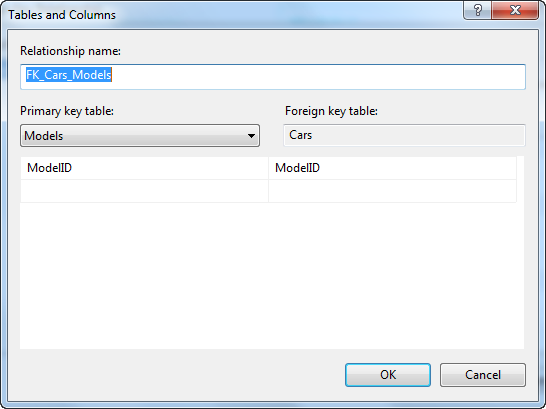
In the Database Diagram, click on the yellow key button in the Models table and then drag the cursor to the ModelID column in the Cars table. A line gets drawn between the two points which indicates the linked relationship. Then, release the mouse button and see two dialogs appear. In the Tables and Columns dialog check that ModelID is the common link. Then, click OK in both dialogs to close them.
Click the yellow key button in the Versions table and drag the cursor to the VersionID column in the Cars table. Close both dialogs again.
Then, click the save All button to add the relationships to the database and click Yes when asked if we want to save.
Since we've established the tables relationship, we can begin to put actual data into the table.
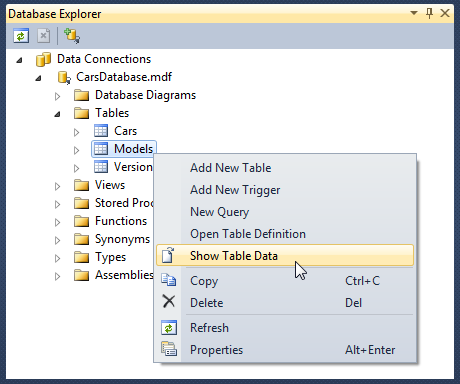
Expand the Tables tree in Database Explorer. Then, right-click on the Models table to expand. Choose Show Table Data from the context menu to open the Models table in the Table Data window.
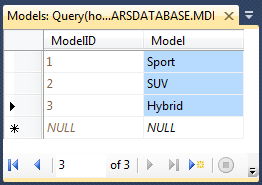
Click under the Models heading and type Sport and then press Tab to move to the Model column on the next row. We can see numbering automatically appear in the ModelID column as we specified when creating the table.
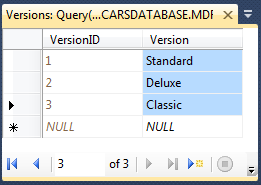
Open the Versions Table Data window and then under the Version column, enter Standard on the first row, Deluxe on the second and Classic on the third row.
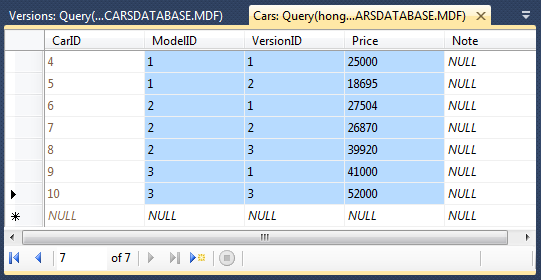
Open the Cars table in the Table Data window and then click under the ModelID heading and enter the data as in the picture below. We can use the Tab key to move through the cells to enter ModelID, VersionID, and the Price data.
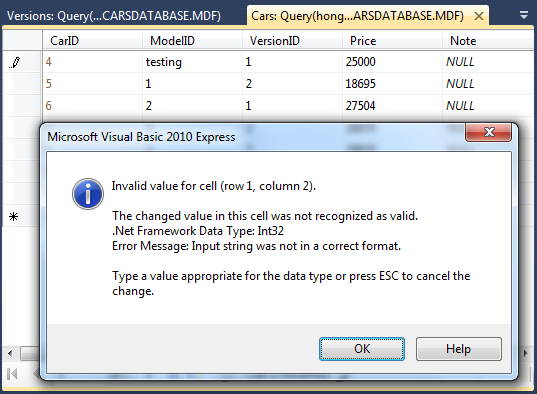
Let's test the table constrains are working correctly. Click the ModelID cell on row 1 and change its value to text and then the Tab key. We should have an error dialog complaining that this entry is invalid.
Press the Esc key to revert back to the original cell value and then click the X button to close the Table Data window.
So far, we've created a database with related tables and data entries. Now we can start to develop the CarsApplication program to incorporate the data as a dataset.
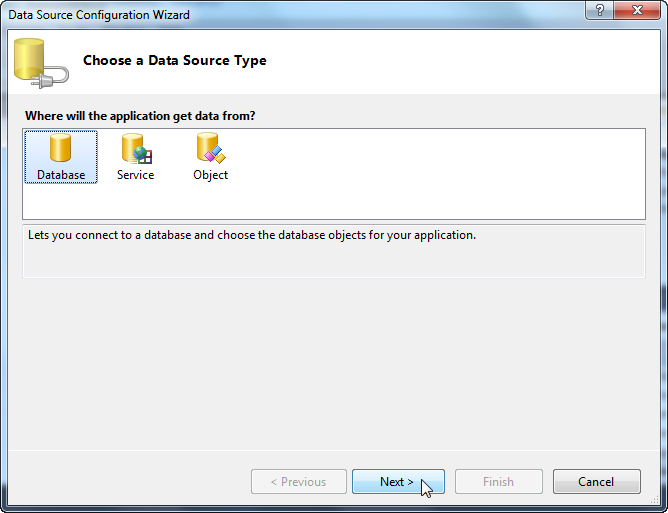
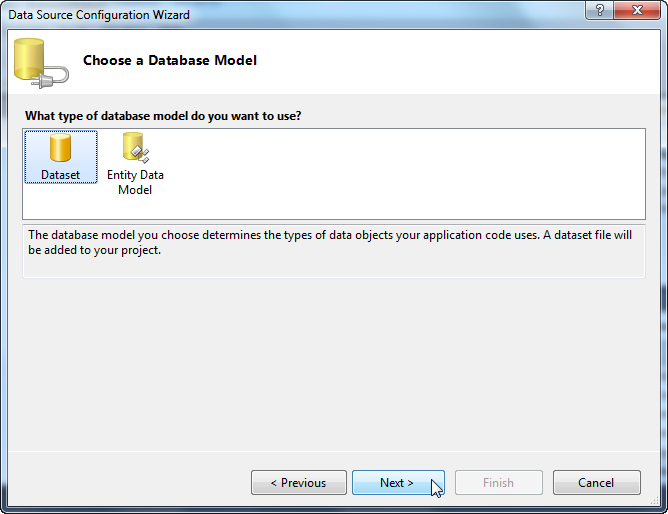
Click Data, Add New Data Source on the Menu Bar to start the Data Source Configuration Wizard dialog.

Select the Database icon and then click Next to proceed.
Then Select the CarsDatabase.mdf as the chosen connection in the dropdown list, then click Next.
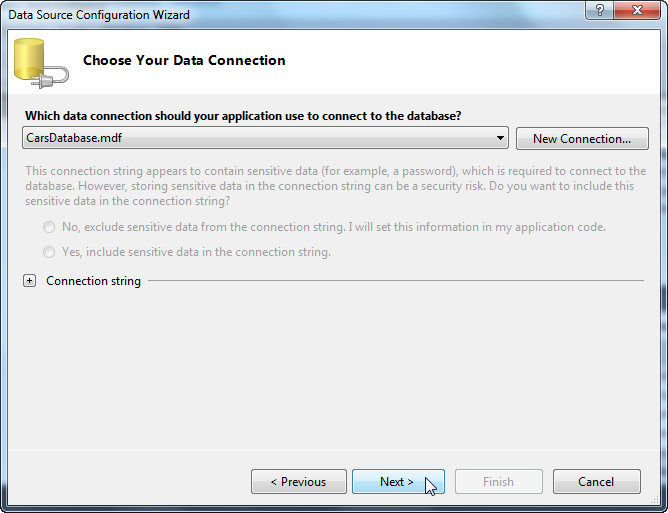
Check the "Yes, save the connection as" and then Next.

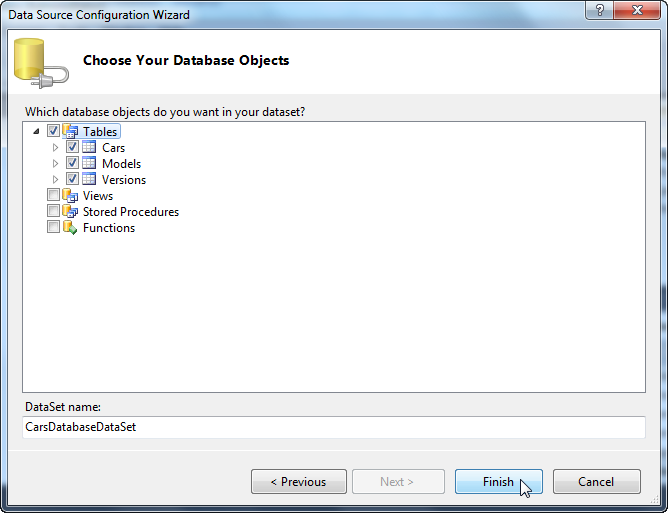
Check the Tables checkbox to include all the database tables in the dataset. Then, press the Finish button.
In Solution Explorer, we see that the dataset has been created as a new XML Schema Document. Also, the application configuration is stored in an XML document named app.config.
