Qt5 Tutorial Creating QtQuick2 QML Animation A - 2020
In this tutorial, we will learn how to create a Qt Quick2 application.
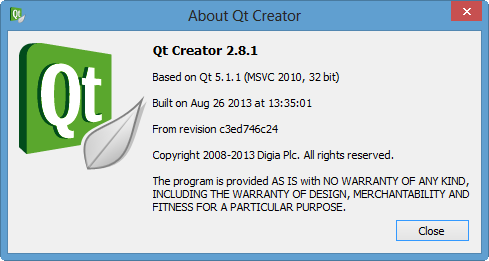
We're going to use Qt5.1.1 with Qt Creator2.8.1:
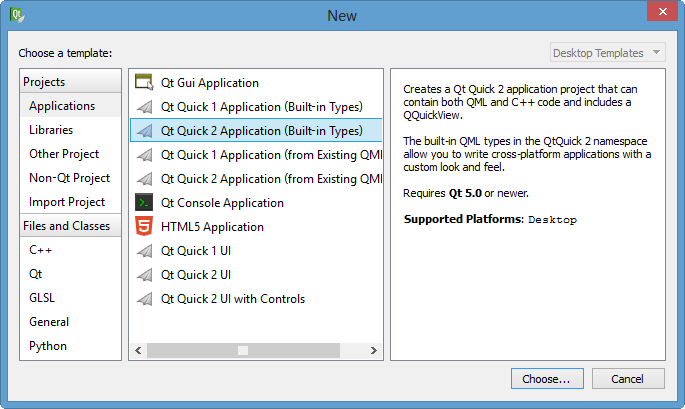
Select File > New File or Project > Applications > Qt Quick2 Application > Choose.
Create a project called Transitions.
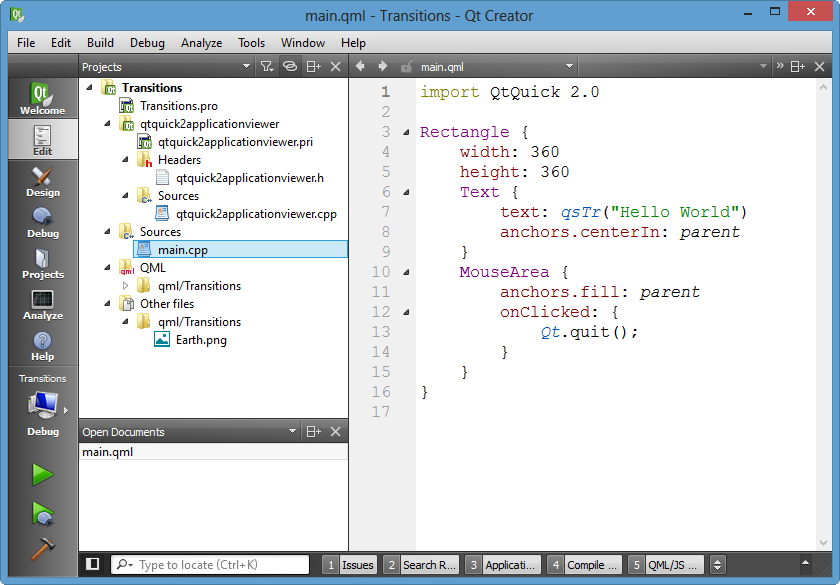
Qt Creator generates a default QML file that we can modify to create the main view of the application.
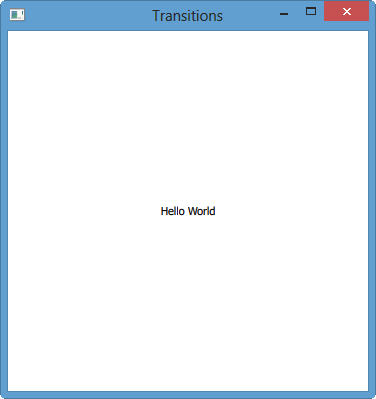
Press Ctrl+R to run the application.
The main view of the application displays a earth icon in the top left corner of the screen and two empty rectangles.
To use the earth.png image in our application, we must copy it to the project directory (same subdirectory as the QML file). The image appears in the Resources pane. We can also use any other image or a QML element, instead.
In the Projects view, double-click the main.qml file to open it in the code editor.
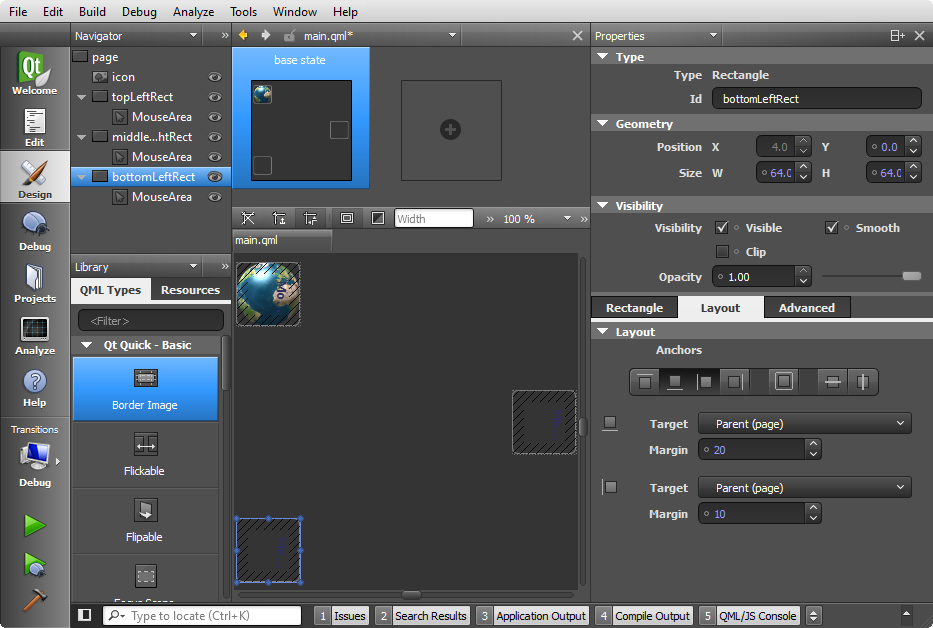
Click Design to open the file in Qt Quick Designer:
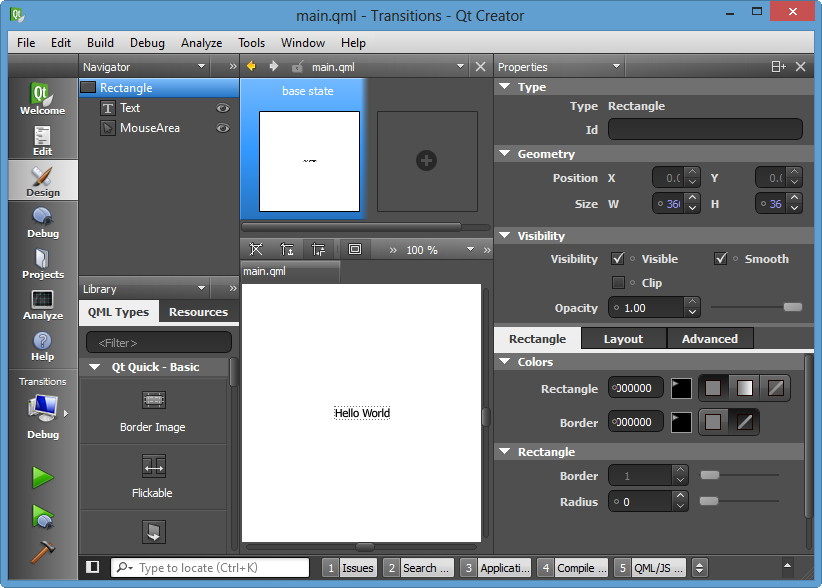
In the Navigator pane, select Text and press Delete to delete it.
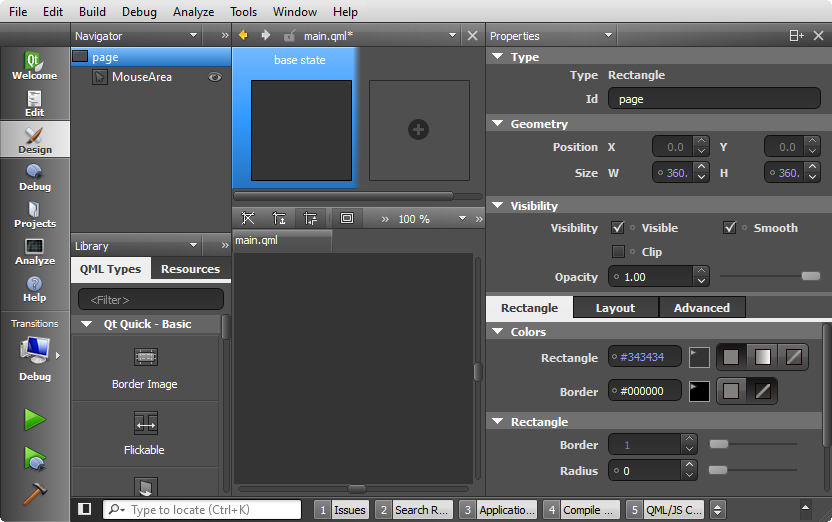
Select Rectangle to edit its properties.
- In the Id field, enter page, to be able to reference the rectangle from other places:
- In the Colors group, Rectangle field, set the color to #343434:
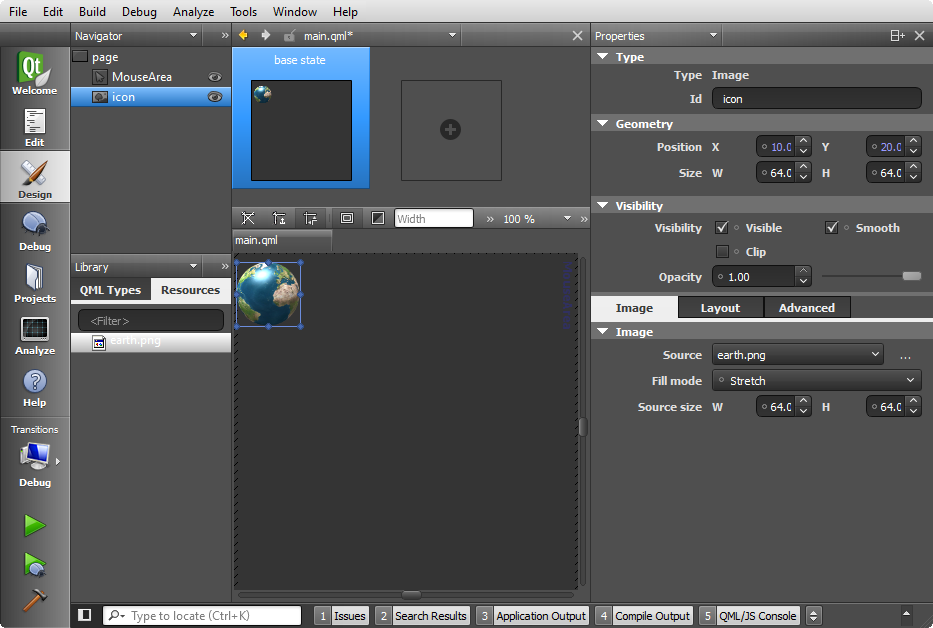
In the Library view, Resources tab, select earth.png and drag and drop it to the canvas.
- While we're drag/drop the icon, we need to make the icon as a child of page. We can tell the relationship by watching navigator while we're moving icon around. If not set properly, we can directly work within the Navigator pane.
- In the Id field, enter icon.
- In the Position field, set X to 10 and Y to 20.
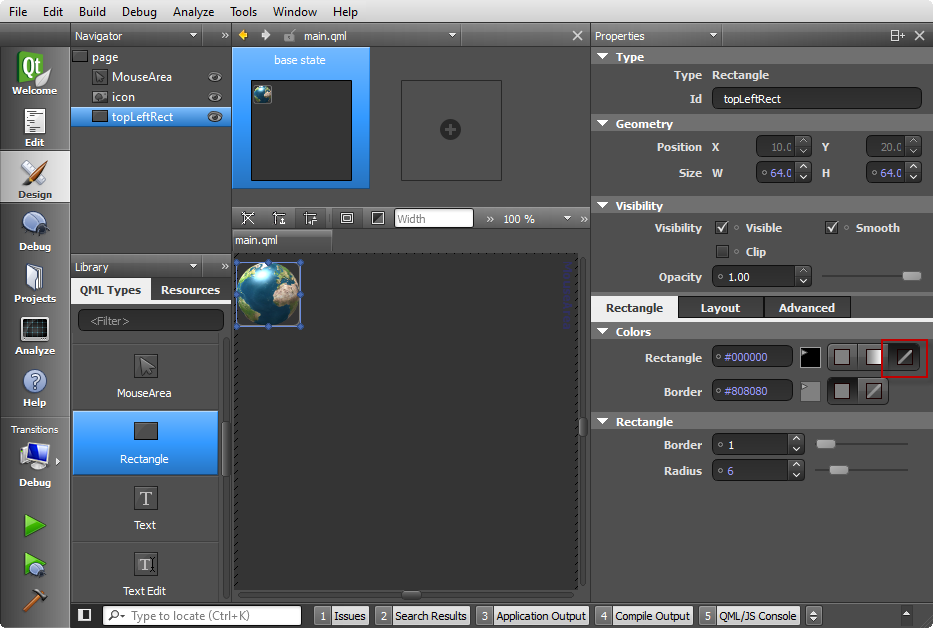
In the Library view, QML Types, select Rectangle, drag and drop it to the canvas, and edit its properties.
- In the Id field, enter topLeftRect.
- In the Size field, set W and H to 64, for the rectangle size to match the image size.
- In the Colors group, Rectangle field, click the button
 to make the rectangle transparent .
 - In the Border field, set the border color to #808080.
- In the Rectangle group, Border field, set the border width to 1.
- Note: If the Border field does not appear after you set the border color, try setting the border color to solid by clicking the button.
- In the Radius field, select 6 to create rounded corners for the rectangle.
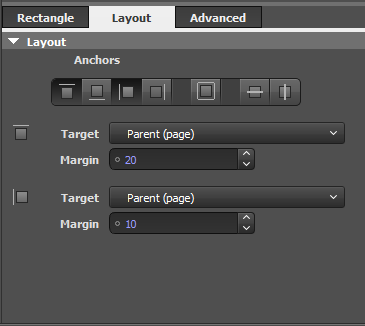
- Click Layout, and then click the top and left anchor buttons to anchor the rectangle to the top left corner of the page.
- In the Margin field, select 20 for the top anchor and 10 for the left anchor.
In the Navigator pane, drag and drop the Mouse Area element from page to topLeftRect to make it apply only to the rectangle and not to the whole page.
Edit Mouse Area properties:
- Click Layout, and then click the button to anchor the mouse area to the rectangle.
- In the code editor, edit the pointer to the clicked expression in the mouse area element, as illustrated by the following code snippet:
from:MouseArea { anchors.fill: parent onClicked: { Qt.quit(); } }to:MouseArea { anchors.fill: parent onClicked: page.state = '' }The expression sets the state to the base state and returns the image to its initial position.
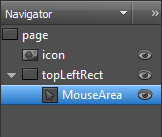
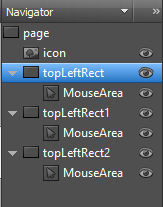
In the Navigator pane, copy topLeftRect (by pressing Ctrl+C) and paste it to the canvas twice (by pressing Ctrl+V). Qt Creator renames the new instances of the element topLeftRect1 and topLeftRect2.
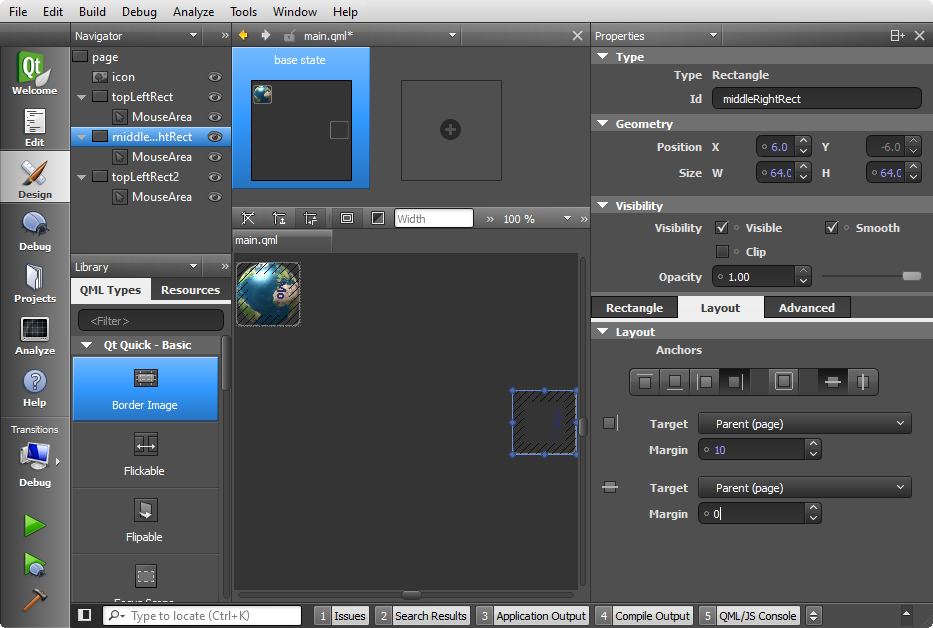
Select topLeftRect1 and edit its properties:
- In the Id field, enter middleRightRect.
- In Layout, select the vertical center anchor button and then the right anchor button to anchor the rectangle to the middle right margin of the screen.
- In the Margin field, select 10 for the right anchor and 0 for the vertical center anchor.
- In the code editor,add a pointer to a clicked expression to the mouse area element. The following expression sets the state to State1:
onClicked: page.state = 'State1'
You will create State1 later.
Select topLeftRect2 and edit its properties:
onClicked: page.state = 'State2'You will create State2 later.
Here is the main.qml:
import QtQuick 2.0
Rectangle {
id: page
width: 360
height: 360
color: "#343434"
Image {
id: icon
x: 10
y: 20
source: "earth.png"
}
Rectangle {
id: topLeftRect
width: 64
height: 64
color: "#00000000"
radius: 6
anchors.left: parent.left
anchors.leftMargin: 10
anchors.top: parent.top
anchors.topMargin: 20
border.color: "#808080"
 MouseArea {
     anchors.fill: parent
     onClicked: page.state = ''
 }
}
Rectangle {
id: middleRightRect
x: 6
y: -6
width: 64
height: 64
color: "#00000000"
radius: 6
anchors.right: parent.right
anchors.rightMargin: 10
anchors.verticalCenter: parent.verticalCenter
border.color: "#808080"
MouseArea {
anchors.fill: parent
onClicked: page.state = 'State1'
}
}
Rectangle {
id: bottomLeftRect
x: 4
y: 0
width: 64
height: 64
color: "#00000000"
radius: 6
anchors.bottom: parent.bottom
anchors.bottomMargin: 20
border.color: "#808080"
anchors.left: parent.left
anchors.leftMargin: 10
MouseArea {
anchors.fill: parent
onClicked: page.state = 'State2'
}
}
}
Press Ctrl+S to save the changes.
Press Ctrl+R to run the application.
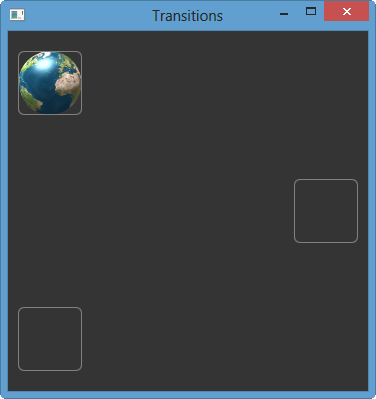
We should see the Earth in the top left rectangle, and two additional rectangles in the center right and bottom left of the screen.
We can now create additional states to add views to the application.
This tutorial is based on Creating a Qt Quick Application.
It seemed straight forward to follow the tutorial at first, however, there were couple of missing pieces, at least for me. I just hope this tutorial fills the gap for you if any.
This will be continued, please visit Creating QML Animation B:
- Adding Views
- Adding Animation to the View
Qt 5 Tutorial
- Hello World
- Signals and Slots
- Q_OBJECT Macro
- MainWindow and Action
- MainWindow and ImageViewer using Designer A
- MainWindow and ImageViewer using Designer B
- Layouts
- Layouts without Designer
- Grid Layouts
- Splitter
- QDir
- QFile (Basic)
- Resource Files (.qrc)
- QComboBox
- QListWidget
- QTreeWidget
- QAction and Icon Resources
- QStatusBar
- QMessageBox
- QTimer
- QList
- QListIterator
- QMutableListIterator
- QLinkedList
- QMap
- QHash
- QStringList
- QTextStream
- QMimeType and QMimeDatabase
- QFile (Serialization I)
- QFile (Serialization II - Class)
- Tool Tips in HTML Style and with Resource Images
- QPainter
- QBrush and QRect
- QPainterPath and QPolygon
- QPen and Cap Style
- QBrush and QGradient
- QPainter and Transformations
- QGraphicsView and QGraphicsScene
- Customizing Items by inheriting QGraphicsItem
- QGraphicsView Animation
- FFmpeg Converter using QProcess
- QProgress Dialog - Modal and Modeless
- QVariant and QMetaType
- QtXML - Writing to a file
- QtXML - QtXML DOM Reading
- QThreads - Introduction
- QThreads - Creating Threads
- Creating QThreads using QtConcurrent
- QThreads - Priority
- QThreads - QMutex
- QThreads - GuiThread
- QtConcurrent QProgressDialog with QFutureWatcher
- QSemaphores - Producer and Consumer
- QThreads - wait()
- MVC - ModelView with QListView and QStringListModel
- MVC - ModelView with QTreeView and QDirModel
- MVC - ModelView with QTreeView and QFileSystemModel
- MVC - ModelView with QTableView and QItemDelegate
- QHttp - Downloading Files
- QNetworkAccessManager and QNetworkRequest - Downloading Files
- Qt's Network Download Example - Reconstructed
- QNetworkAccessManager - Downloading Files with UI and QProgressDialog
- QUdpSocket
- QTcpSocket
- QTcpSocket with Signals and Slots
- QTcpServer - Client and Server
- QTcpServer - Loopback Dialog
- QTcpServer - Client and Server using MultiThreading
- QTcpServer - Client and Server using QThreadPool
- Asynchronous QTcpServer - Client and Server using QThreadPool
- Qt Quick2 QML Animation - A
- Qt Quick2 QML Animation - B
- Short note on Ubuntu Install
- OpenGL with QT5
- Qt5 Webkit : Web Browser with QtCreator using QWebView Part A
- Qt5 Webkit : Web Browser with QtCreator using QWebView Part B
- Video Player with HTML5 QWebView and FFmpeg Converter
- Qt5 Add-in and Visual Studio 2012
- Qt5.3 Installation on Ubuntu 14.04
- Qt5.5 Installation on Ubuntu 14.04
- Short note on deploying to Windows
Ph.D. / Golden Gate Ave, San Francisco / Seoul National Univ / Carnegie Mellon / UC Berkeley / DevOps / Deep Learning / Visualization